Introduction
Cloudflare is a powerful distributed DNS and Content Delivery Network (CDN) services software that allows users to implement fast and secure websites without any extra work on the code or additional functionality on their site. Its an innovative platform built to serve one core purpose; accelerate and protect every website that uses it by acting as the reverse proxy. This incredible program offers many great features, with the Cloudflare Security option being the most important of them all.
The Cloudflare Security Suite provides multiple security settings that can be configured to boost the security of your website. The suite supports many options right from the DDoS protection to the fully integrated Web Application Firewall (WAF). This tutorial will help you activate the security options provided by Cloudflare to boost the performance and security of your web.
Ready? Let’s go!
Step 1: Accessing security options
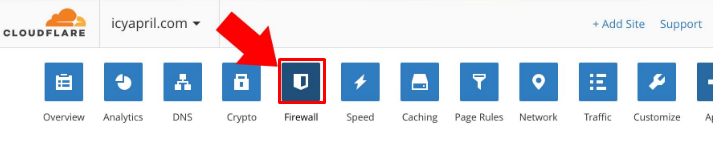
To access the security settings go to the Cloudflare Client Area and hit the Firewall button at the top ribbon:
Here the salient setting is the Security Level Cloudflare. This option is applied when an offending user is detected on your website and has 5 unique security levels.
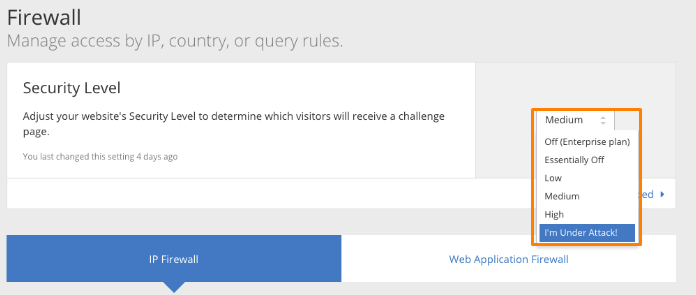
These protection levels filter users differently using their IP reputation before presenting the challenge. The IP reputation of each user is computed using a built-in algorithm hosted on the Cloudflare end. The score for the IP reputation ranges between 0 and 100 and here is what each grade means:
- HIGH: challenges every threat that scores greater than 0. At this level, all visitors that exhibit threatening behavior within the last fourteen days are challenged.
- MEDIUM: Challenges each threat that scores more than 14. This option test both the most threatening and moderate threat visitors.
- LOW: This setting ensures every threat greater that 24 is put to challenge. This security level ensures all the most threatening visitors are rigorously scrutinized.
- ESSENTIALLY OFF: This challenges Threats that score more than 49. The settings challenge all the grievous offenders.
- I AM UNDER ATTACK: This is the last security level which comes in handy when your site is under a DDoS attack. The settings display a temporary placeholder for each individual visitor on your website for a short period of time. During this brief period, Cloudflare scrutinizes the activity of every visitor to determine if they are genuine users or are part of the DDoS attack.
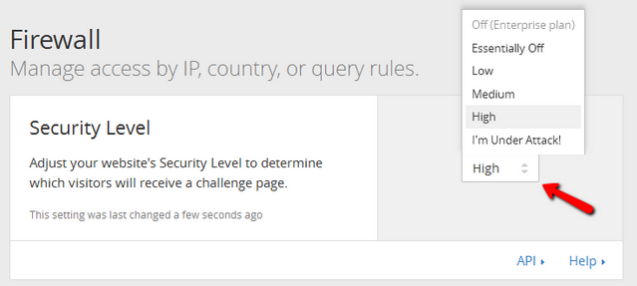
The recommended setting for the security level is Medium. This value offers comprehensive security without causing any inconvenience to your website visitors.
Step 2 – Setting The Challenge Passage
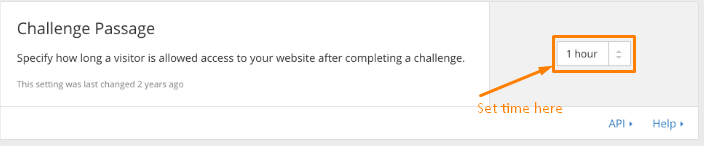
The next step is configuring the Challenge Passage. This option allows you to stipulate how long your website visitor can go unchallenged by the human authentication check on your site. Pick a duration that suits your security needs the most.
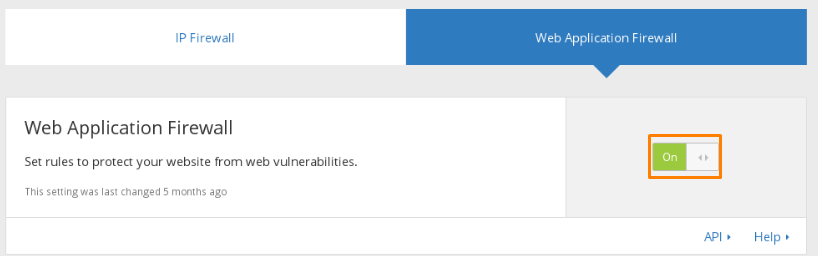
Hit the Web Application Firewall (WAF) button. The WAF option allows you to set the rules to safeguard your site from potential web vulnerabilities. Set the WAF option ON.
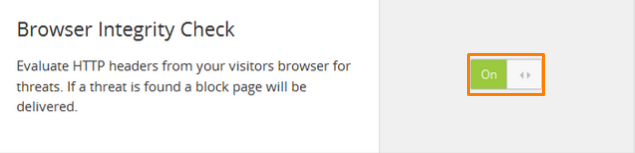
Next, go to the Browser integrity check which is designed to evaluate HTTP headers to pinpoint threats from the browser used by your visitor. To activate this option set it ON.
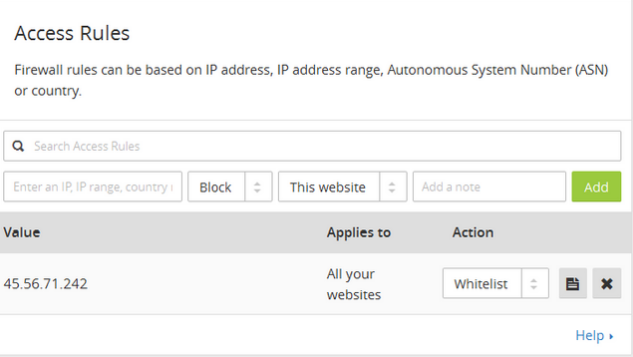
Once you activate the Browser Integrity Check, click on the IP Firewall tab.
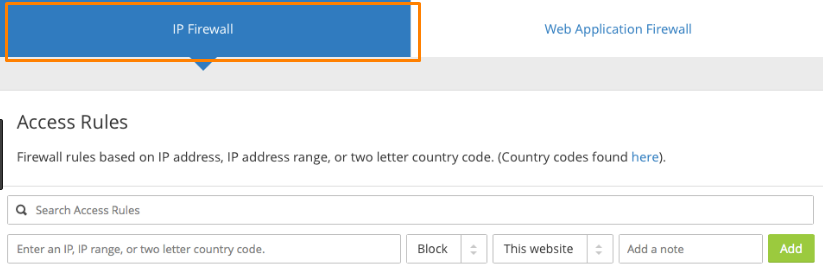
This will give you access to the Access Rule window. Here you can easily Block, Whitelist, or challenge IPs and leave a note where necessary.
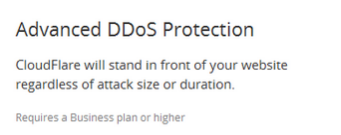
Step 3 – Configuring The Advanced DDoS Protection
Setting the Advanced DDoS protection is another important security option. This setting offers optimal security when your website is under a distributed denial of service (DDoS) and Distributed reflector (DRDoS) attacks. These settings enable Cloudflare to stand as the first line of defense to your website regardless of the size or duration of the attack. It protects your website against the following attacks:
- Layer ¾ attacks
- SMURF attacks
- ACK attacks
- DNS amplification attacks
- Layer 7 attacks
Access the Advanced DDoS Protection page and activate the option.
Conclusion
That’s all! You have successfully configured the most important Cloudflare security options for your website through your Cloudflare Client Area. By now your website is operating securely and should present fast and seamless browsing to your visitors.
Special Note: If you are looking to purchase a CDN service but are not yet sure which, we recommend that you consult our list of best CDN services of 2018.
Check out these top 3 CDN services:
0