Introduction
Nginx Server Blocks are powerful applications that permit users to host multiple domains on one server. They are incredibly useful if you have multiple websites and are not ready to go through the time-consuming process of creating a web server for each.
The server blocks utilize the server_name and listen directives to bind to transmission control protocol (TCP) ports. They make it easy to create a unique security policy, specify the document root, and employ a unique SSL certificate for each website.
This tutorial will show you how to configure Nginx server blocks on your Ubuntu 18.04 server.
Ready? Let’s go!
Before You Start
- An Ubuntu 18.04 VPS or dedicated server
- A user with root permissions
- Nginx installed in your Ubuntu 18.04 VPS or dedicated server
- You also need a domain pointing to the public server Internet Protocol (IP) address. In our tutorial, we’ll utilize example.com as the demo domain name
Step 1 – Creating A Directory Structure
If everything is in place, it’s time to craft a directory structure for our installation. The spine of this structure will be a document root; a location where all files for your specific domain are maintained and presented when a corresponding request is made.
We’ll create a document root using the directory structure below:
/var/www/
├── domain1.com
│   └── public_html
├── domain2.com
│   └── public_html
├── domain3.com
│   └── public_html
Feel free to set your document root to a location of choice.
Here, we’ll fashion a unique directory for every domain to be hosted on the server in the location /var/www. Then, within each of the directory created, we’ll set a sub directory public_html, which will be used to archive the files for the domain.
As aforementioned, we’ll utilize the domain example.com. Now, run the command below to create a root directory for the domain.
$ sudo mkdir -p /var/www/example.com/public_html
Next, inside the new root directory (public_html) of your domain, create a file called index.html.
Execute the command below to open the file index.html, and add a demo file:
$ sudo nano /var/www/example.com/public_html/index.html
Add the content below in the file:
<!DOCTYPE html>
<html lang="en" dir="ltr">
  <head>
    <meta charset="utf-8">
    <title>Welcome to example.com</title>
  </head>
  <body>
    <h1>Success! example.com home page!</h1>
  </body>
</html>
Save the changes and exit the nano editor.
In this tutorial, we’ve been running commands using sudo privileges and all the newly fashioned directories and files belong to a sudo user. We need to modify the ownership of these directories and files to avert potential permission issues. We’ll use chown command to modify the ownership of our document root to www-data (Nginx user).
$ sudo chown -R www-data: /var/www/example.com
That’s it! Everything is set and there should be no permission issues.
Step 2 – Creating A Nginx Server Block
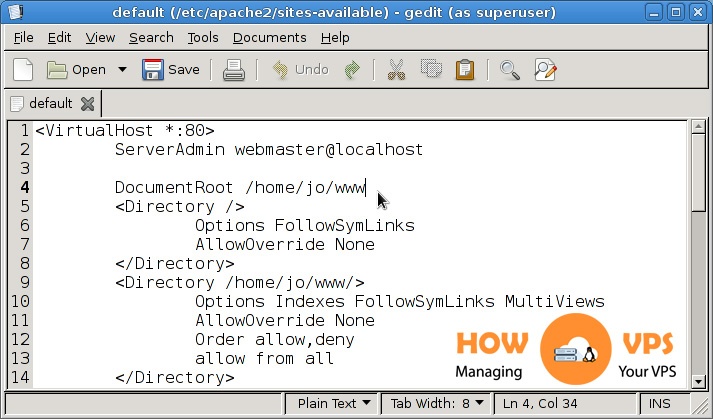
By default, Ubuntu systems stores the configuration files for Nginx server blocks in the directory; /etc/nginx/sites-available. These configuration files are enabled via symlinks to the directory; /etc/nginx/sites-enabled/.
To create Nginx server block, first, use your favorite editor to open the configuration file; /etc/nginx/sites-available/example.com. Copy and paste the content below into the new file:
server {
    listen80;
    listen [::]:80;

    root /var/www/example.com/public_html;

    index index.html;

    server_name example.com www.example.com;

     access_log /var/log/nginx/example.com.access.log;
     error_log /var/log/nginx/example.com.error.log;

    location / {
        try_files$uri$uri/ =404;
    }
}
The above configuration file (example.com) can be given any other name, but it’s always wise to use your domain as the name for the file.
Now, we need to activate the server block configuration file we just created. This can be achieved by creating a symlink or symlink from the configuration file to a directory sites-enabled. Execute the command below to create the symlink:
$ sudo ln -s /etc/nginx/sites-available/example.com /etc/nginx/sites-enabled/
Next, run the command below to authenticate Nginx configuration:
$ sudo nginx -t
If the service syntax is okay, then you should get an output like the one below:
nginx: the configuration file /etc/nginx/nginx.confsyntax is ok
nginx: configuration file /etc/nginx/nginx.conftest is successful
Run the command below to restart your Nginx service and implement all the changes.
$ sudo systemctl restart nginx
To verify if the Nginx server block is functioning correctly, open http://example.com via your favorite web browser. If all went well you should get

Conclusion
That is it! You have successfully set up a new Nginx server block on your Ubuntu 18.04 server. In case, you want to create more server blocks for all your websites, simply follow the steps outlined above for each domain.
Check out these top 3 VPS services:
0