This post is all about Securely Accessing your VPS. There are many different methods to access your VPS. Some are more secure than others. We will go over some of these methods in detail and help explain why you should or should not use each method. But you will how to access your VPS securely.
TELNET (You Should never use this)
Back in the early days of the Internet before everyone was really concerned about security in general most folks used an unsecured protocol called Telnet. The problem with Telnet is that everything send and received is in clear text including your passwords. As you can imagine Telnet is not widely used anymore as most everyone now uses ssh. We just thought we would mention telnet in case you ever come across it. You know to disable it right away and start using SSH.
SSH
SSH is a powerful and secure way to access your VPS and the one we recommend you use. SSH encrypts all traffic (including authentication and passwords) between two hosts. You can also tunnel TCP ports through your connections and securely access services on the remote machine.
In order to connect with SSH to your VPS you need a SSH client if your running windows.We recommend a program called putty. We like it cause it is free. You can get it here: http://www.chiark.greenend.org.uk/~sgtatham/putt/download.html. Once downloaded and installed, setup a new connection to your VPS IP and enter ‘root’ for the user-name and connect.
If your running Linux or Mac OSX, ssh is available by default on most installs. Just open a terminal and run the following command replacing the IP address with the IP address of your VPS:
|
1
2
3
|
ssh root@123.123.123.123
|
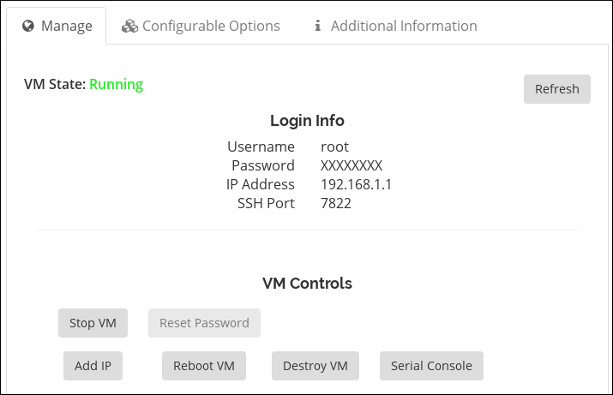
Once connected you will be prompted for your root password. You should have received this in the email you received from ZoomCloud.net. Enter your password and hit enter.
If all went well, you should be at command prompt on your VPS that looks like this:
|
1
2
3
|
[root@www]#
|
Now the first thing you should do is create another user (‘useradd “newusername”‘) and make sure that user has access to su or sudo to root. Once you are sure of this, you should disable root logon by editing /etc/ssh/sshd_config. We have this detailed in another post called Securing and Using SSH.
FTP
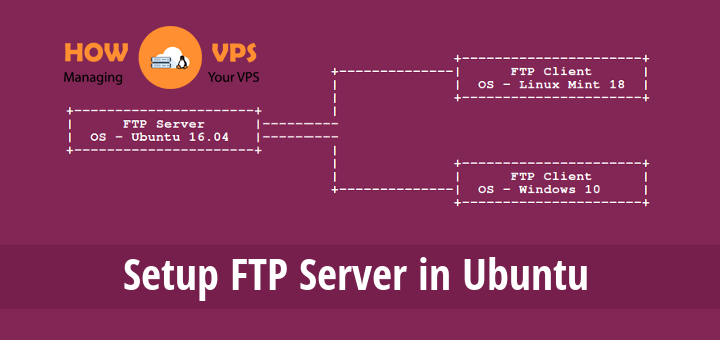
Most webmasters are familiar with FTP or File Transfer Protocol. Its been used commonly to upload websites to hosting providers for ages and is still used today. The problem with this is FTP again is an old protocol and does not even think of security. All data is transferred in clear text including your passwords. We don’t recommend you use FTP but if you must here is how you do it.
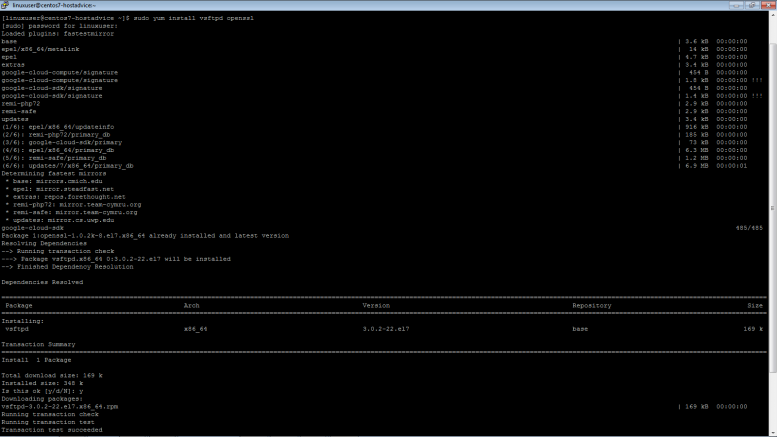
First you need to enable an FTP server on your VPS. We recommend pure-ftpd on CentOS. To Install run the following commands from a SSH session:
|
1
2
|
yum install pure–ftpd
|
checkconfig pure-ftp on
/etc/init.d/pure-ftp start
Next you need a client. On Windows Linux or Mac you will need a file transfer program. We like FileZilla because its cross platform and works on all the OS’s we work with. You can also run ftp from the terminal in Linux and Mac OSX but to keep things simple here we will show you how using FileZilla. You can get it here: http://filezilla-project.org/download.php
Once installed and open, In the quick connect bar, enter the IP address, username and password and for port enter 21. Click connect. You should now be connected to your VPS.
SFTP
But wait there is even a better way to transfer files securely between two hosts. Its called SFTP. SFTP Combines the ease of use of FTP with the security of SSH. Again you need a client (yes CLI options are available in Linux and Mac) but you already have it. You connect the same way as you do for FTP, but this time instead of port 21 enter port 22. Its as simple as that.

