In this article, I will explain how to build a LEMP stack protected by ModSecurity. ModSecurity is an open-source web application firewall that is useful to protect against injects, PHP attacks, and more. If you’d like to setup NGINX with ModSecurity, continue reading.
Setup NGINX with ModSecurity on CentOS 6
All steps in this article require root access.
Step 1: Installing the prerequisites
If you aren’t already running as the root user, escalate yourself:
/bin/su
We need a compiler, so execute the following to make sure:
yum install -y gcc gcc-c++ pcre-devel zlib-devel openssl openssl-devel httpd-devel libxml2-devel xz-devel python-devel libcurl-devel
yum groupinstall -y 'Development Tools'
In order to install NGINX, we need to first obtain the package. Download the package:
cd /usr/src && wget http://nginx.org/download/nginx-1.9.9.tar.gz
We’ll also require the PHP package for our stack.
wget http://us2.php.net/distributions/php-5.6.16.tar.bz2
Since we’re installing ModSecurity, we’ll grab the source and download it:
wget https://www.modsecurity.org/tarball/2.9.0/modsecurity-2.9.0.tar.gz
Now, untar/unzip the files.
tar xvf nginx-1.9.9.tar.gz
tar xvf php-5.6.16.tar.bz2
tar xvf modsecurity-2.9.0.tar.gz
Then, we’ll install ModSecurity.
cd /usr/src/modsecurity-2.9.0 && ./configure --enable-standalone-module --disable-mlogc
make && make install
Now that we’ve obtained all of the prerequisites, let’s install NGINX. The following set of commands are for the installation of NGINX and ModSecurity.
cd /usr/src/nginx-1.9.9 && ./configure --add-module=../modsecurity-2.9.0/nginx/modsecurity/
make && make install
ln -s /usr/local/nginx/sbin/nginx /usr/sbin/nginx
Now, let’s install the MySQL server.
yum install -y mysql-server
service mysqld start
mysql_secure_installation
For the mysql_secure_installation command:
- Hit enter on the first step of the installation wizard.
- Type in Y when prompted if a new MySQL root password should be set.
- Type a new password, confirm by typing it again.
- Hit Y to removing anonymous users, disallow remote root access to MySQL by pressing Y again.
- Press Y one last time to remove the test database/user.
- Lastly, press Y to save your changes.
One last thing to install, and that’s PHP. In this article, we’ll be installing PHP from source.
Enter the source directory for PHP.
cd /usr/src/php-5.6.16
Now, configure PHP. The following arguments in the ./configure command are there so you can run applications like WordPress.
 ./configure --with-pear=/usr/lib/pear --enable-libxml --with-pdo-mysql --with-mysqli --with-mysql --enable-mbstring --with-curl
 make
 make install
Install PHP-FPM for NGINX:
yum install -y php-fpm
We need to install PHP-FPM on top of PHP itself because NGINX itself does not integrate directly with PHP. Instead, NGINX passes PHP processing over to PHP-FPM to execute our scripts.
Good job! You’ve installed the prerequisites.
Step 2: Configuring ModSecurity/NGINX
Let’s start by building a ModSecurity rule set. ModSecurity does nothing by itself until you configure it.
Grab the OWASP rule set from their website:
 cd /usr/src && wget https://github.com/SpiderLabs/owasp-modsecurity-crs/tarball/master
 tar xvf master
After you’ve downloaded the rule set, we’ll combine the default configuration with the base rules.
cd SpiderLabs-owasp-modsecurity-crs-60c8bc9
cp /usr/src/modsecurity-2.9.0/modsecurity.conf-recommended /usr/local/nginx/conf/modsecurity.conf
cp /usr/src/modsecurity-2.9.0/unicode.mapping /usr/local/nginx/conf/
cat base_rules/*.conf >> /usr/local/nginx/conf/modsecurity.conf
cp base_rules/*.data /usr/local/nginx/conf
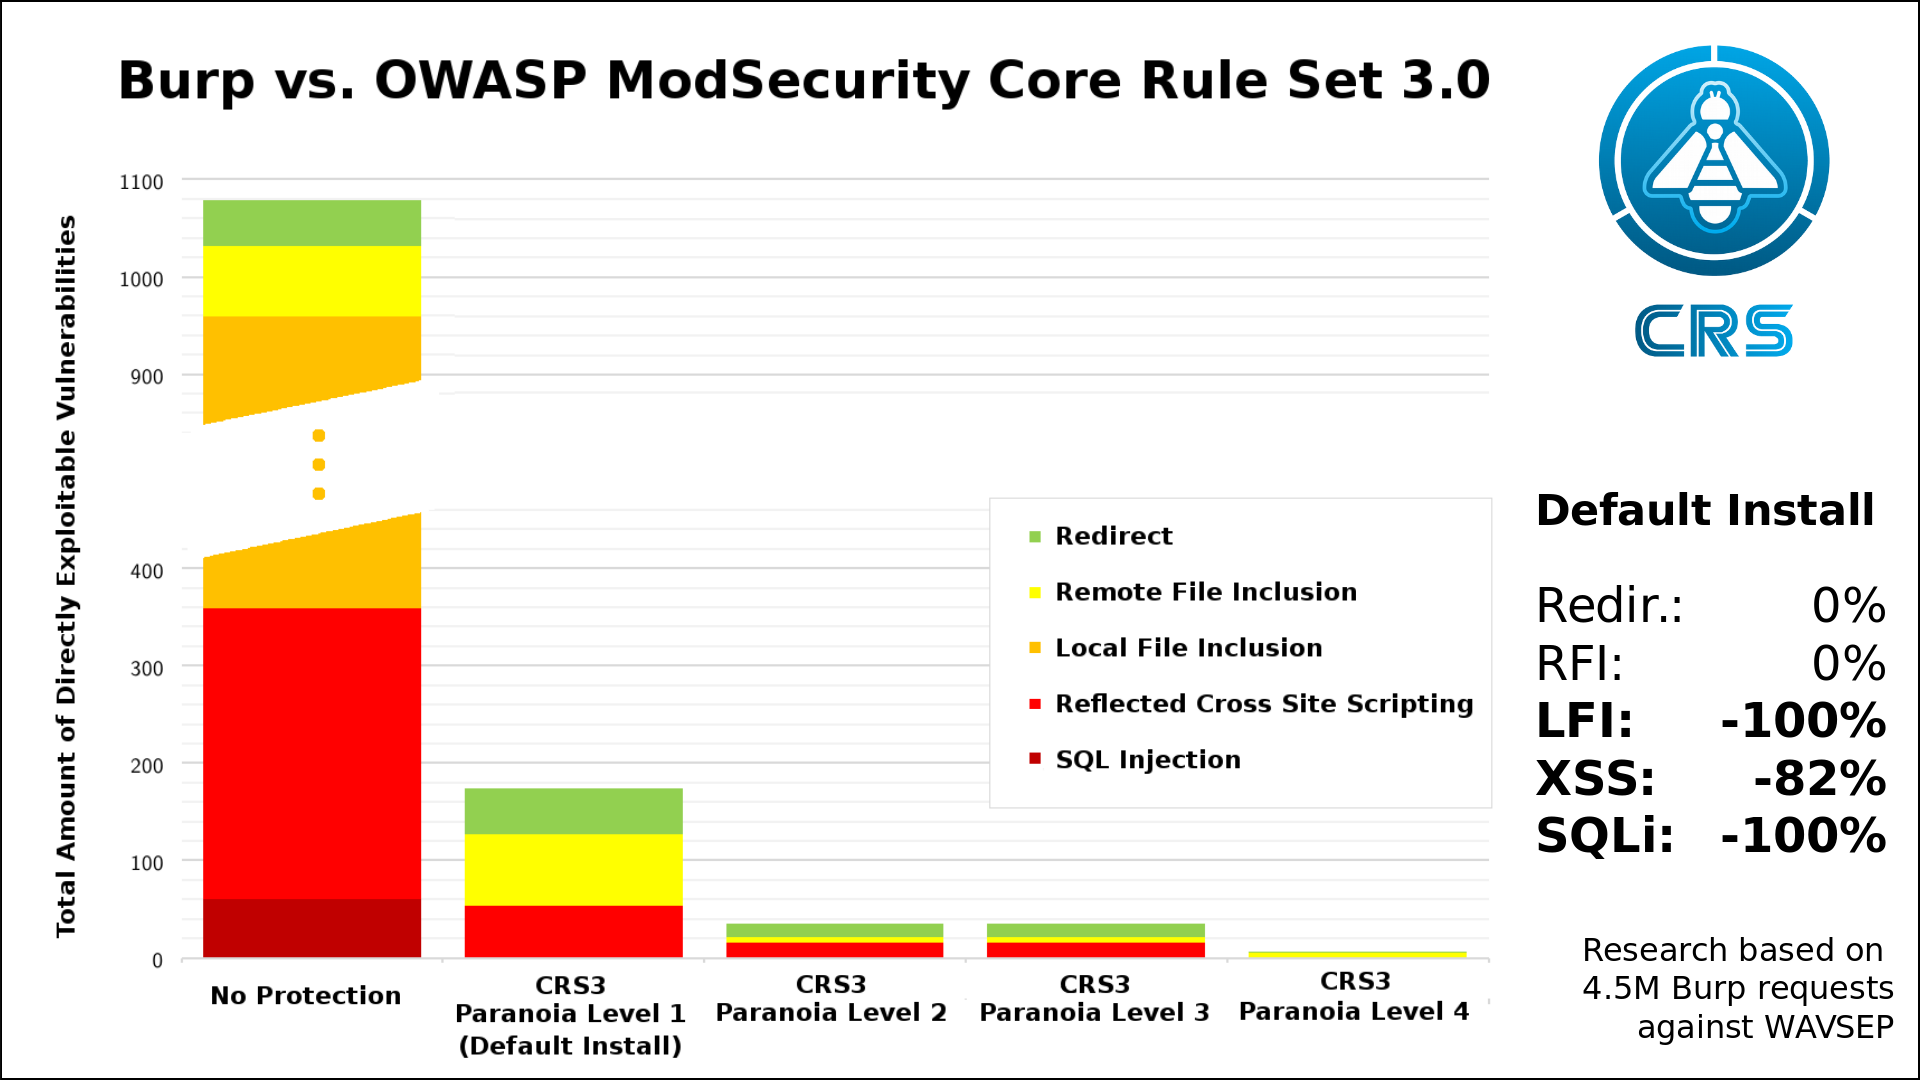
In theory, this should protect against most web exploits. However, the plugins/code you install should also be audited, because while ModSecurity is an excellent security measure, it isn’t bullet-proof.
Create a directory at /var/www:
mkdir /var/www
And a directory for your virtual host:
mkdir /var/www/yourwebsite.com
Finally, append the following to your NGINX configuration located at /usr/local/nginx/conf/nginx.conf. Make sure you append this configuration before the occurrence of the last } symbol.
  server {
  listen   80;
  root /var/www/yourwebsite.com;
  index index.php index.html index.htm;
  server_name yourwebsite.com www.yourwebsite.com;
  location / {
  ModSecurityEnabled on;
  ModSecurityConfig /usr/local/nginx/modsecurity.conf;
  }
  }

  location ~ /.php$ {
    try_files $uri =404;
    fastcgi_pass unix:/var/run/php-fpm.sock;
    fastcgi_index index.php;
    fastcgi_param SCRIPT_FILENAME $document_root$fastcgi_script_name;
    include fastcgi_params;
  }
}
Step 3: Starting PHP-FPM and NGINX
This step is fairly straightforward – all you have to do is execute the following commands.
service php-fpm start
/usr/sbin/nginx
Congratulations! You have setup your first website with NGINX protected by ModSecurity. For further reading on ModSecurity, visit their official site.


