How to Install WordPress on Ubuntu with Nginx, PHP-FPM and MariaDB
Install WordPress 7.1 on Ubuntu 26.04 with nginx, PHP-FPM and MariaDB: packages, database, a complete server block, wp-config.php, HTTPS, and a check after every step.
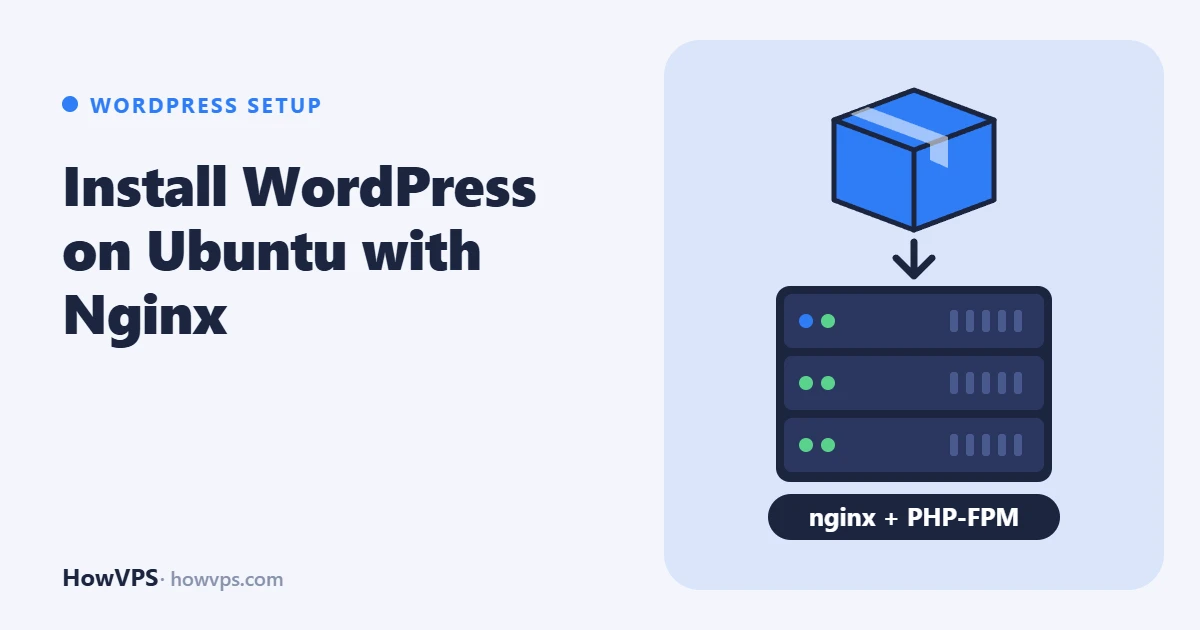
To install WordPress on Ubuntu with nginx you need four pieces: nginx as the web server, PHP-FPM (the service that runs PHP for nginx), MariaDB as the database, and the WordPress files themselves. On Ubuntu 26.04 LTS all of them except WordPress come from the standard repositories, and the whole job takes about eight steps.
The result is WordPress 7.1 served over HTTPS from /var/www/example.com, with PHP reached through a unix socket and a database that only accepts local connections. Replace example.com with your domain everywhere, and point its DNS A record at the server before you start.
The commands follow the official WordPress, nginx and distribution documentation. They were not run on a test server for this article, so read each check before moving on.
What differs between Ubuntu 26.04, 24.04 and Debian 13
The steps are the same on all three. Only the PHP version changes, and with it the service name and the socket path.
| System | PHP | Service | Socket |
|---|---|---|---|
| Ubuntu 26.04 LTS | 8.5 | php8.5-fpm | /run/php/php8.5-fpm.sock |
| Debian 13 | 8.4 | php8.4-fpm | /run/php/php8.4-fpm.sock |
| Ubuntu 24.04 LTS | 8.3 | php8.3-fpm | /run/php/php8.3-fpm.sock |
WordPress.org recommends PHP 8.3 or greater and MariaDB 10.11 or greater, so all three systems qualify. This guide writes 8.5; substitute your version. If the server is new, create a sudo user and set up the firewall first.
Install nginx, MariaDB and PHP
The unversioned php-* package names install the distribution's default PHP version, so one command works on all three systems.
sudo apt update
sudo apt install nginx mariadb-server php-fpm php-mysql php-curl php-xml \
  php-mbstring php-zip php-intl php-gd php-imagick
php-mysql provides the mysqli extension, which WordPress requires. The others are the ones the WordPress hosting handbook lists as highly recommended: curl, dom and xml (both in php-xml), mbstring, zip, intl, and an image library. exif, fileinfo and openssl are already part of the base PHP packages.
Check that the three services run and the extensions loaded:
systemctl is-active nginx mariadb php8.5-fpm
php -m | grep -E 'mysqli|curl|dom|mbstring|zip|intl|imagick'
On AlmaLinux and Rocky Linux the packages are nginx mariadb-server php-fpm php-mysqlnd php-xml php-mbstring php-intl php-gd, the service is php-fpm, the socket is /run/php-fpm/www.sock and PHP runs as user apache. Check the versions on offer with dnf info php nginx mariadb-server.
Create the database and its user
On Ubuntu and Debian the system root user can open MariaDB without a password:
sudo mariadbCREATE DATABASE wordpress DEFAULT CHARACTER SET utf8mb4 COLLATE utf8mb4_unicode_ci;
CREATE USER 'wpuser'@'localhost' IDENTIFIED BY 'use-a-long-random-password';
GRANT ALL PRIVILEGES ON wordpress.* TO 'wpuser'@'localhost';
FLUSH PRIVILEGES;
EXIT;The user can reach only this one database and only from the server itself. Check that the login works:
mariadb -u wpuser -p -e "SHOW DATABASES;"The list must contain wordpress. Generate the password with openssl rand -base64 24 rather than inventing one.
Download WordPress and set ownership
cd /tmp
curl -O https://wordpress.org/latest.tar.gz
sudo mkdir -p /var/www/example.com
sudo tar -xzf latest.tar.gz -C /var/www/example.com --strip-components=1
sudo chown -R www-data:www-data /var/www/example.com
www-data is the user PHP-FPM runs as on Ubuntu and Debian. Owning the files lets WordPress update itself and install plugins from the dashboard. The stricter alternative is described in WordPress file permissions.
ls -ld /var/www/example.com /var/www/example.com/wp-content
grep wp_version /var/www/example.com/wp-includes/version.php
Both folders should show www-data, and the version line shows which release you downloaded.
Write wp-config.php
cd /var/www/example.com
sudo -u www-data cp wp-config-sample.php wp-config.php
sudo chmod 640 wp-config.php
sudo nano wp-config.php
Set DB_NAME to wordpress, DB_USER to wpuser and DB_PASSWORD to the password from the previous step. Leave DB_HOST as localhost.
Then replace the eight placeholder lines for keys and salts. These are random strings WordPress uses to sign login cookies. The WordPress.org API generates a fresh set:
curl -s https://api.wordpress.org/secret-key/1.1/salt/Paste its output over the eight define( 'AUTH_KEY', ... ) to define( 'NONCE_SALT', ... ) lines. Check that the file is still valid PHP:
sudo -u www-data php -l wp-config.phpAdd the nginx server block
Create /etc/nginx/sites-available/example.com (on AlmaLinux and Rocky Linux: /etc/nginx/conf.d/example.com.conf):
server {
    listen 80;
    listen [::]:80;
    server_name example.com www.example.com;

    root /var/www/example.com;
    index index.php;
    client_max_body_size 64m;

    location / {
        try_files $uri $uri/ /index.php?$args;
    }

    # hidden files such as .git or .env; ACME challenges stay reachable
    location ~ /\.(?!well-known) {
        deny all;
    }

    # no PHP execution from the uploads folder
    location ~* ^/wp-content/uploads/.*\.php$ {
        deny all;
    }

    location ~ \.php$ {
        try_files $uri =404;
        include fastcgi_params;
        fastcgi_param SCRIPT_FILENAME $document_root$fastcgi_script_name;
        fastcgi_pass unix:/run/php/php8.5-fpm.sock;   # AlmaLinux, Rocky: /run/php-fpm/www.sock
    }
}
try_files in location / serves a real file if one exists and otherwise hands the request to index.php, which is what makes WordPress permalinks work. The two deny blocks must stay above the PHP block: nginx uses the first matching regular-expression location, so an uploaded .php file is refused before it can reach PHP-FPM. client_max_body_size raises the upload limit from nginx's default of 1 MB; PHP has its own limits, set by upload_max_filesize and post_max_size.
sudo ln -s /etc/nginx/sites-available/example.com /etc/nginx/sites-enabled/
sudo nginx -t && sudo systemctl reload nginx
curl -I http://example.com/
nginx -t must report that the syntax is ok. The curl answer should be a 302 redirect to /wp-admin/install.php, which proves that nginx, PHP-FPM and the database settings all work. A 502 means the socket path is wrong or PHP-FPM is down. If the request times out, open ports 80 and 443 in the firewall.
Turn on HTTPS with certbot
Do this before running the installer, so that the administrator password is never sent in clear text.
sudo apt install certbot python3-certbot-nginx
sudo certbot --nginx -d example.com -d www.example.com
Certbot obtains a Let's Encrypt certificate, adds a listen 443 ssl server block and offers to redirect HTTP to HTTPS. To enable HTTP/2 on nginx 1.25.1 or later (Ubuntu 26.04, Debian 13), add http2 on; inside that 443 block. Ubuntu 24.04 ships nginx 1.24, where the older form listen 443 ssl http2; applies.
sudo nginx -t && sudo systemctl reload nginx
curl -I https://example.com/
sudo certbot renew --dry-run
The dry run confirms that automatic renewal will work.
Finish in the web installer
Open https://example.com/ in a browser. Choose the language, a site title, an administrator username that is not admin, a long password and a working email address. Because you opened the site over HTTPS, WordPress stores the https:// address as its site URL.
After logging in, open Tools, then Site Health. It reports missing PHP extensions, a failed loopback request or a scheduled-task problem. Then confirm the release under Dashboard, Updates: it should be 7.1.5 or later, the version that contains the fixes described in the 7.1.5 security release.
What to do next
- Backups. Set up a daily database dump and file copy that leaves the server before you publish anything. See WordPress backups on a VPS.
- Security. Limit login attempts, block XML-RPC if you do not use it and add security headers: WordPress security with nginx.
- Caching. A page cache in nginx removes PHP from most requests: nginx FastCGI cache for WordPress.
- Command line. Install WP-CLI to update and repair the site over SSH.