If you have a VPS from Vultr, DigitalOcean.. But it isn’t hight configurations. How to optimize your vps for some sites?How to manage your VPS without cPanel? We will guide you how to manage it.
How to manage your VPS without cPanel?
What are the uses for a vps without cpanel?
Well, a control panel is just a web interface to your server, you can do the same configuration using SSH (the secure shell). I have a few VPS and none of them have any control panels, reasons for doing so could include:
- Reduce attack vectors: a control panel is external code with permission to make changes on a system-level of your server, a bug here could be used maliciously
- Save system resources: having a control panel means that you need to have a web server running which uses a couple of megabytes of RAM
- Save costs: control panels might have licensing fees if they are commercial, this could make the VPS more expensive
- You are using a nonstandard setup that the control panel does not support (eg. you need to use
nginxand it only supportsapache)
It all really depends on what you are doing. Setting a system up via SSH on the command line requires more knowledge of whatever you are using, but it gives you more control over everything, while using a control panel is more convenient but is limited to whatever it was designed for.
Is it difficult to set up VPS without cpanel?
Definetelly not for beginner, good linux knowledge is a must. if you don’t have the knowledge maybe look for a managed vps such as one from getcadre.com, sure it is more expensive but compare that to the time needed for you to master linux.
But the good news is that we will guide everyone – those who do not know anything about linux can easily manage vps in the shortest possible time.
Manage your VPS without cPanel
In this article, we will tell you how to setup an VPS use Nginx webserver & Mysql server.
Setup VPS use Nginx/Mysql
Step 1: Create an VPS with Linux OS
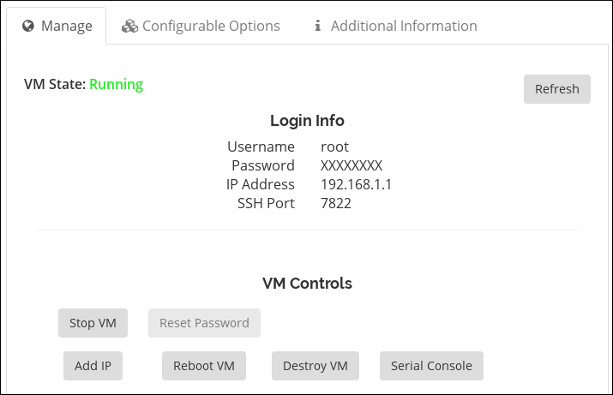
There are lots of VPS providers in the market today and you should create an account with them. Most of them have a nice dashboard that provides an interface for firing up new servers or instances.
When creating your VPS server, you should choose Ubuntu 18.04 as the operating system. But you can select Centos or Debian..You will be asked to select the number of VCPUs that you want, RAM, hard disc space and server location. All these depend on your budget and preferences.
Step 2: Connect to your server via SSH
All VPS plans allow SSH access. You should therefore connect to your Ubuntu 18.04 server with your public IP address that was allocated to you when you created the server. You should also supply the root user and password assigned during the setup process.
If you are running Windows as your local computer, consider downloading PuTTY SSH client. You can also initiate an SSH connection from Mac or Linux using the inbuilt SSH client Terminal.
Step 3: Install Nginx server
First update the package information using the command below:
For Ubuntu:
$ sudo apt-get update -y
For Centos:
$ sudo yum update -y
Then install the Nginx server :
For Ubuntu:
$ sudo apt install nginx -y
For Centos:
$ sudo yum install nginx -y
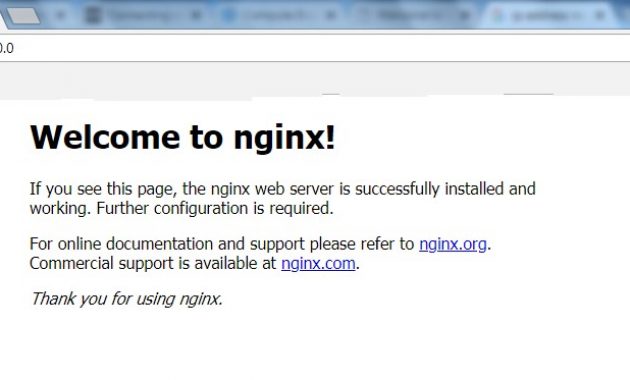
You can test if the installation was completed by typing your server’s public IP address on a browser. You should get the below default web page.
Step 4: Install MySQL
Dynamic websites need MySQL for storing and managing data. We can install this relational database management system by running the command below:
For Unbuntu:
$ sudo apt install mysql-server
For Centos:
$ sudo yum install mysql-server
A basic MySQL installation is not secure by default. Luckily there is a utility to configure most of the settings to make MySQL more secure.
To do this, run the command below:
$ sudo mysql_secure_installation
Then, supply the below answers on the prompts:
- Enable validate password Plugin? Y
- Password Validation Policy Level: 2
- Root Password: Enter password here
- Re-enter password: Repeat password here
- Continue with the Password provided? Y
- Remove anonymous users? Y
- Disallow root login remotely? Y
- Remove test database and access to it? Y
- Reload privileges tables now? Y
You should get a ‘’Success! All done’’ message .
Step 5: Install PHP
Up to this point, you have a working Nginx web server and MySQL can store data for your website. However, we still need to install PHP in order for it to retrieve dynamic data from the MySQL database.
Nginx connects to PHP using FastCGI Process Manager (FPM) which works well with busier sites.
To install PHP FPM, run the command below. We have also need to include MySQL module to ensure that PHP will offer full support for MySQL server:
For Ubuntu:
$ sudo apt-get install php-fpm php-mysql
For Centos:
$ sudo apt-get install php-fpm php-mysql
Step 6: Configure Nginx to support PHP
We need to tell Nginx to redirect PHP requests to the FPM to serve dynamic content. So we have to edit the ‘/etc/nginx/sites-available/default’ file :
$ sudo nano /etc/nginx/sites-available/default
The configuration file should like this when edited. The values that you need to edit are highlighted in bold:
server {
listen 80;
root /var/www/html;
server_name _;
index index.php index.html index.htm index.debian-default.html;
location / {
try_files $uri $uri/ /index.php$is_args$args;
}
location ~ \.php$ {
include snippets/fastcgi-php.conf;
fastcgi_pass unix:/run/php/php7.1-fpm.sock;
}
}
Reload Nginx
$ sudo systemctl reload nginx
Step 7: Testing PHP
In order to test if PHP is working, we need to create a file using nano editor:
$ sudo nano /var/www/html/phpinfo.php
Once the editor opens, copy paste the text below:
<?php
phpinfo();
?>
Once you have finished copying the content, close the file by pressing CTRL + X, Y and Enter
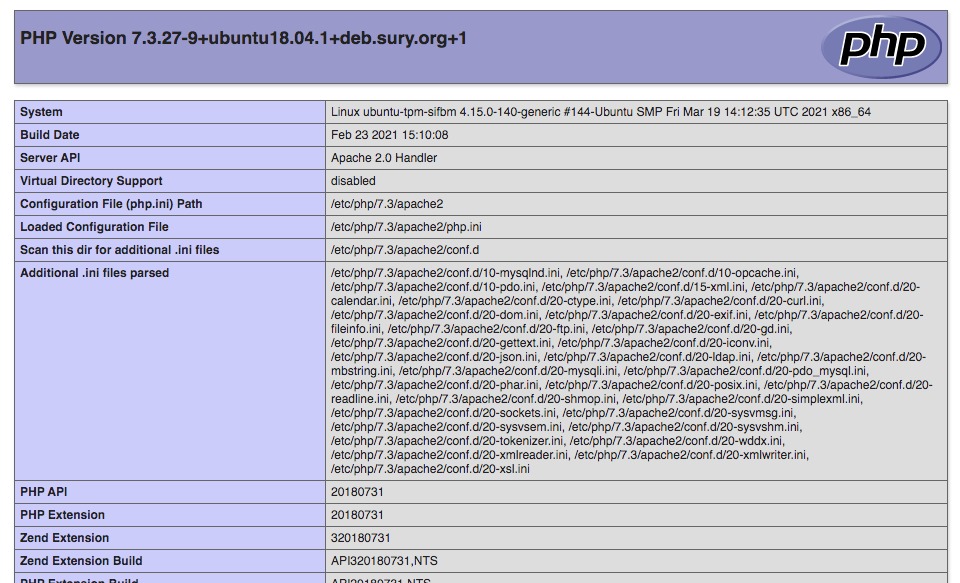
Then, you can visit the URL http://your_ip_address/phpinfo.php
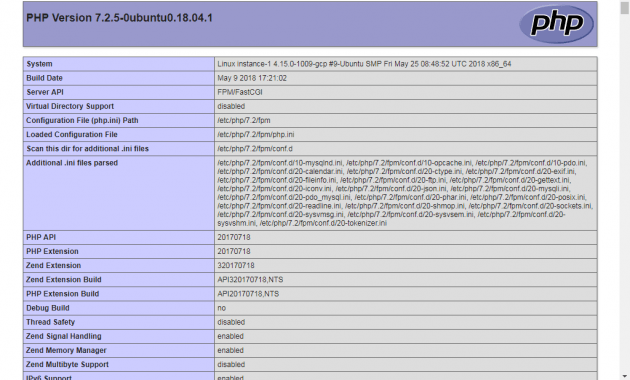
If everything works as expected, you should see a long PHP page with a lot of information.
Conclusion
With “How to manage your VPS without cPanel?”, we have showed you how to install Linux, Nginx, MySQL and PHP on your Ubuntu server or Centos. With the setup on your server, you can run any dynamic website as required. You may also install any content management system (e.g. WordPress) that relies on the LEMP stack to function. Finally, work your way towards building that beautiful website for your visitors.
View Coupon
