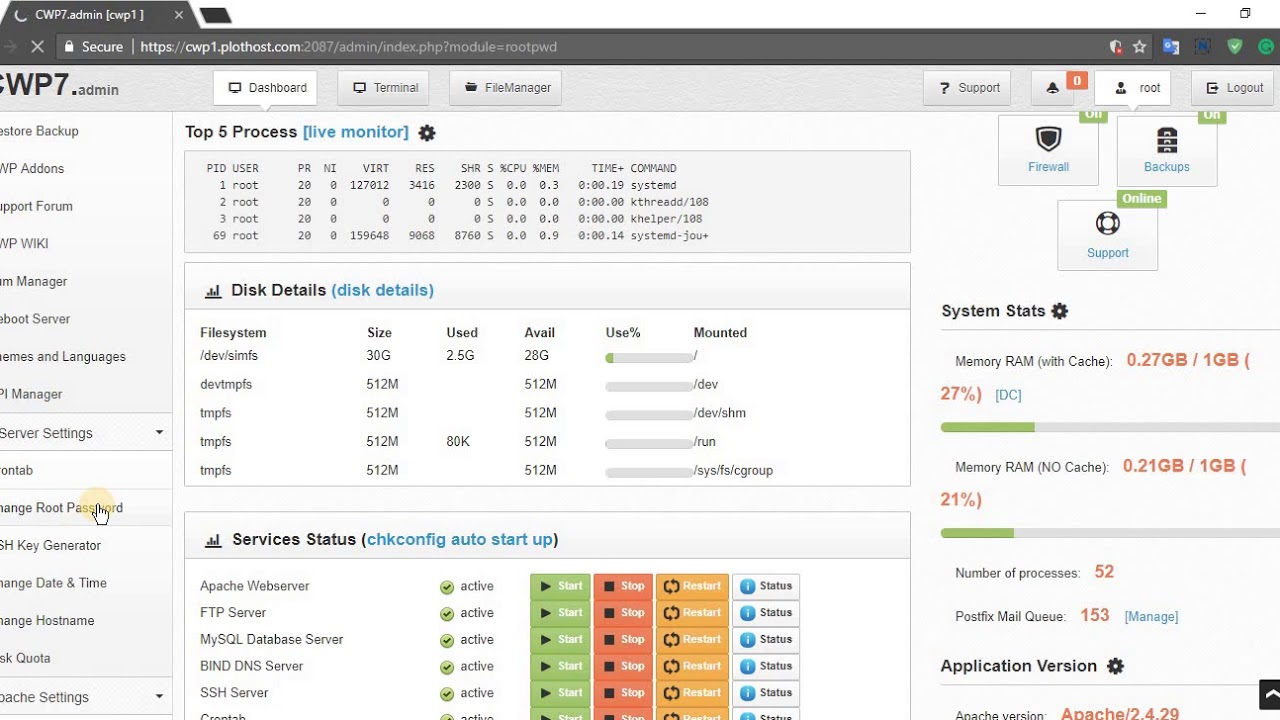
CentOS Web Panel or CWP is an open-source hosting control panel which is designed for quick and easy management of a server. It includes all of the features of a modern panel, like admin/client access in the panel, Softculous auto installer, MySQL, phpMyAdmin, Apache, SSL, DNS, Roundcube, ModSecurity, anti-spamming solutions, and many more. One of its most popular features is the PHP version switcher.
CWP Panel is compatible with CentOS 6.x, RedHat 6.x, and CloudLinux 6.x.
In this article, we are going to install it and make some basic configuration changes.
First, connect to your server with SSH, using your root account, and change the hostname according to this guide.
Then, if you haven’t already, set your IP addresses (as Vultr recommends), by going to the Vultr control panel, and navigating to My Servers -> Manage -> IPv4 -> Networking Configuration. Follow the instructions on that page.
Installation
Restart your server, and connect again via SSH with your root account. We need to prepare our server, by installing wget and upgrading all server packages with the following commands.
yum install wget
yum update
reboot
Now we are ready to install CWP. Connect again via SSH and run the following commands:
cd /usr/local/src
wget http://centos-webpanel.com/cwp-latest
sh cwp-latest
We will have to wait until installation has completed.
After the installation completes, don’t forget to copy the “CWP Installed” notice from SSH, because it includes the MySQL root password. Next, press “enter”, in order to allow the server to reboot.
When the reboot is done, we can login to our CWP panel, via our web-browser at either of the following URLs. Replace “SERVER_IP” accordingly:
- http://[SERVER_IP]:2030 (non-secure)
- https://[SERVER_IP]:2031 (secure)
Login with the user name “root” and your root password.
Your are ready to begin using CWP!
Want to contribute?
You could earn up to $300 by adding new articles
Suggest an update
Request an article


