CloudFlare acts as a reverse proxy for websites by providing CDN (content delivery network) and DNS services. It features free and subscription plans that are used to boost the speed, security, and presence of a website in different ways.
This post will demonstrate how to use the free service on CloudFlare to prevent your website from risks associated with DDoS attacks. We shall also take through how to enable “I’m Under Attack Mode,” to counter DDoS attacks and verify a legitimate connection before accessing a website.
Let’s get started.
Prerequisites
Before you begin, here the key things you need:
- A server software
- A fully registered domain name pointing to your server.
- Access to the cPanel dashboard of the domain providers.
Before getting started, you also need to open a CloudFlare account since this process will require the nameservers in your CloudFlare account.
Configuring your Domain Name on CloudFlare
The first step is to make sure your domain name is configured to use CloudFlare’s DNS service.
To do so, start by logging into your CloudFlare account and follow the steps below:
1. Adding your Website and Scanning DNS Records
Once you’re logged in, a new page labeled Get Started with CloudFlare will come up. Add your site to CloudFlare:
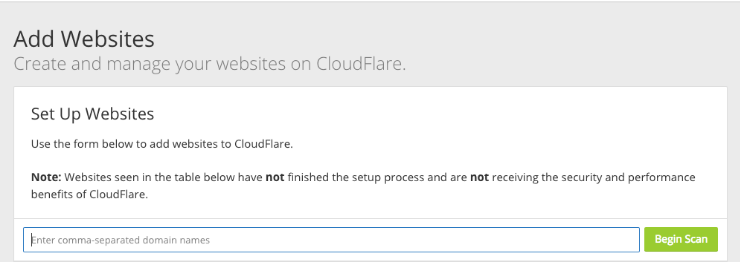
Next, type the domain name you wish to use on CloudFlare and press the Begin Scan button. You will see an output like this:
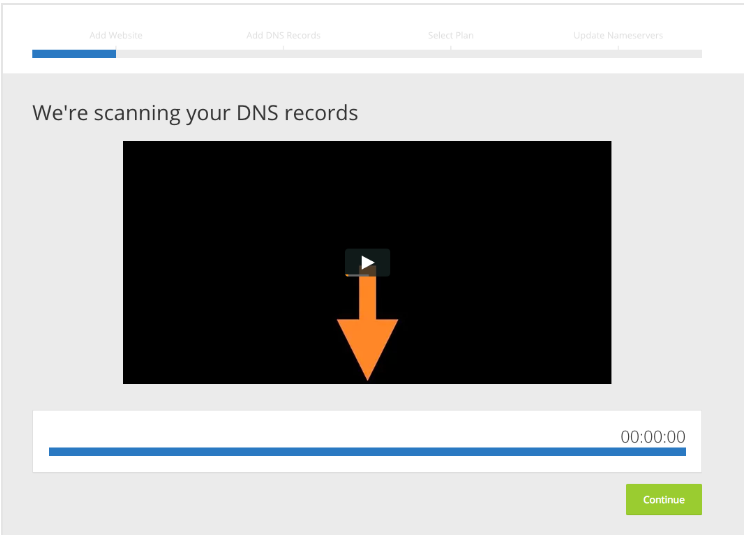
The process may take a while. Once it’s complete, press the Continue button.
Next, you will be taken to a new page that shows the outcomes of the scan on your DNS files. Confirm that all the DNS records are there since CloudFlare will require to use some records from this lot to resolve some domain requests. In this case, we have chosen cockroach.nyc as our domain name.
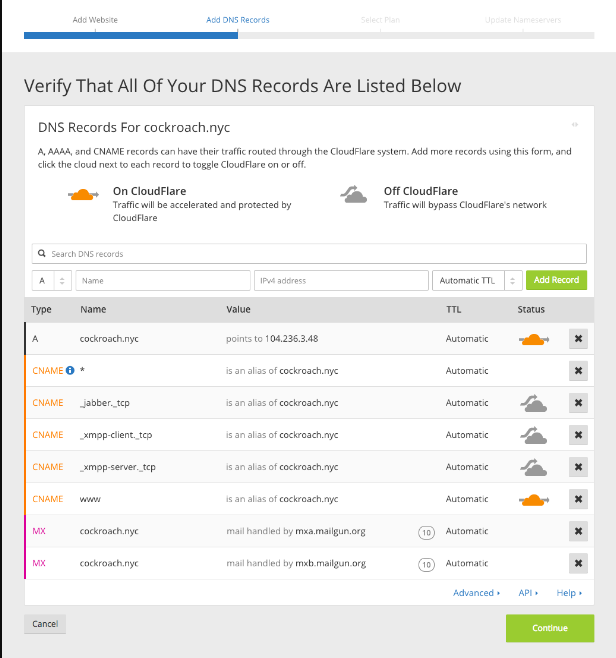
It is important to remember that for the section labeled A and CNAME which contains records pointing to your main web server, should show an orange icon. This shows that the site’s traffic will automatically pass through CloudFlare before going to the servers.
Now, go ahead and choose a payment plan for CloudFlare. In our case, we will go with the Free tier plan. If you want additional features on CloudFlare, you can choose another plan.

2. Changing CloudFlare Nameservers
In this section, you will see a page with a list of all the domain’s nameservers and the suggested options that you can switch to. You should change two nameservers to point to CloudFlare, and remove the remaining ones.
If you want to change the domain’s nameservers, navigate to the domain administrator cPanel and change the nameservers to the ones suggested on CloudFlare.
The process will depend on your domain administrator. Once you’re done with the process of changing the nameservers, press Continue. This action can take from several minutes to 24 hours for a complete nameservers switch to happen. Wait for the process to complete.
3. CloudFlare Nameservers Update
Since the process of updating your nameservers may take a considerable amount time, you’re likely to see the page below:
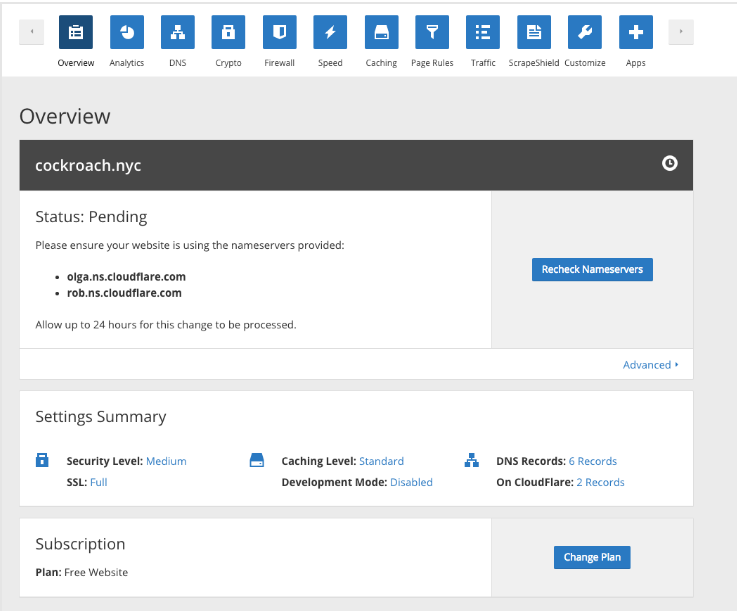
The description above shows a Pending status which shows that the CloudFlare system is waiting for your nameservers to modify to the units used in this example i.e. olga.ns.cloudflare.com and rob.ns.cloudflare.com.
After changing your domain’s nameservers, the next step is to wait for the status to be Active. To confirm if the nameservers are updated, go to CloudFlare’s homepage, or simply click Recheck Nameservers.
4. Activating CloudFlare
Once your nameservers are updated, it should switch to Active status meaning that your domain is set to use CloudFlare’s DNS service.
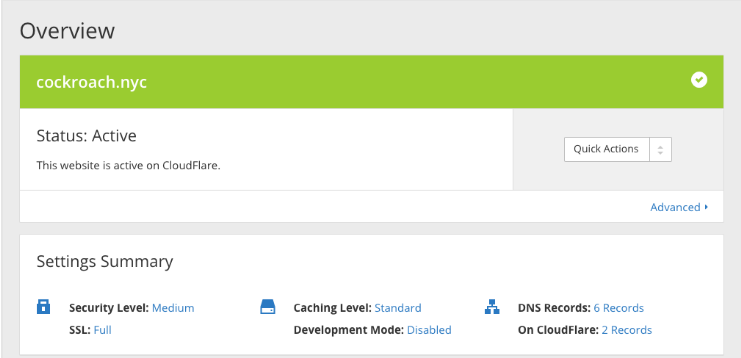
In this case, you get to access all the features available on this platform including the paid plans you’ve subscribed for. If you’re still using a free plan like in our case, you will enjoy some features that will help improve your site’s speed, security, and availability.
Note that on the Settings Summary section, you will see your website’s current security level including other details.
Before moving to the next step, it is important to read this post: Recommended First Steps for all Cloudflare users. The guide will ensure you setup CloudFlare in a way that will allow genuine connections from the services you want to pass through your site, and your web logins will show legitimate guest IP addresses.
When everything is set up, you can now activate I’m Under Attack Mode in the CloudFlare firewall.
5. Activating I’m Under Attack Mode
CloudFlare’s firewall settings are always set to Medium, by default. This presents a challenge page to visitors who may be seen as threats before accessing your site. But, if your website is exposed to a DDoS attack, they may not fully protect your site. So, the I’m Under Attack Mode will be the best option for you.
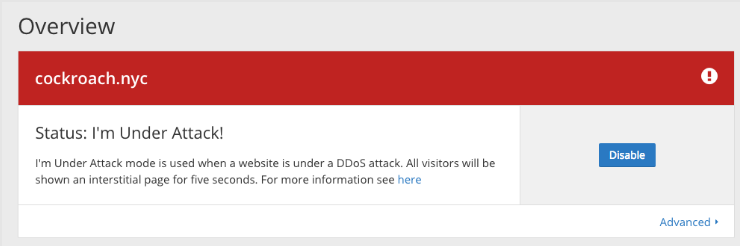
Enabling this mode means that every visitors to your site will encounter an interstitial page that conducts regular checks on your browser and keeps them on hold for approximately five seconds before allowing them to access your server. You should see a display like this:
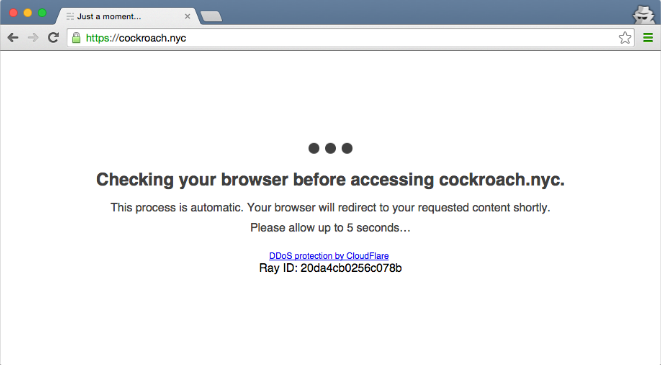
If everything is fine, the server will allow the visitors to access your site. This process will help prevent malicious activities even when there is a DDoS attack.
Remember that the I’m Under Attack Mode should be enabled when there is a DDoS attack. Otherwise, this options should remain turned off.
Enabling I’m Under Attack Mode
To enable this mode, navigate to the dashboard on your CloudFlare and click the Quick Actions menu:
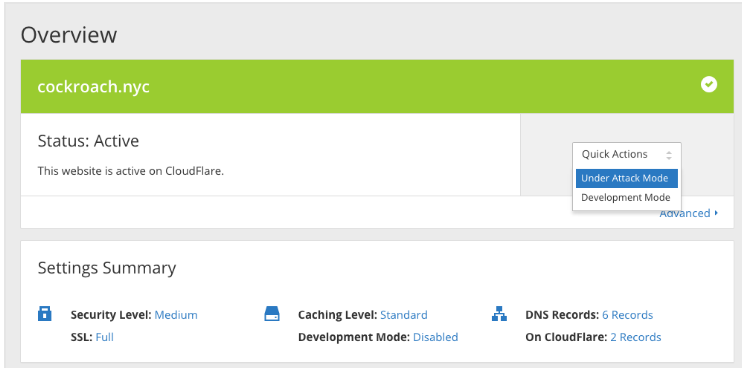
Your site’s security settings should switch to I’m Under Attack mode immediately.
Disabling I’m Under Attack Mode
Since this mode should be enabled when there is a DDoS attack, you should keep it disabled if you aren’t under attack.
To disable it, navigate to the CloudFlare dashboard, and press the Disable button.
Go ahead and choose a security option you wish to use. The most recommended is the Medium mode:
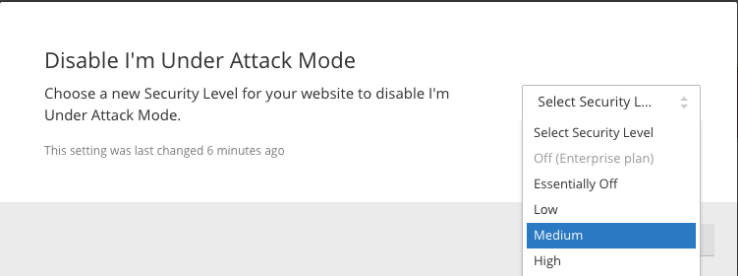
Once you perform this process, the site should go back to the Active mode, and the DDoS option will be disabled
Conclusion
With the CloudFlare setup, your site is now equipped with a useful tool to protect it against DDoS attacks. CloudFlare also comes with additional features such as SSL certificates that are important during the setup. So, explore all the options available and choose one that fits your needs.
All the best!
Check out these top 3 CDN services:
0