Vultr provides you with the awesome functionality of letting you use your own custom
image in addition to their excellent templates, which enables you to run a vast
range of operating systems on your server. This tutorial will provide a step-by-step
explanation of how to install Arch Linux.
While Arch is generally considered a distribution for desktops and notebooks and not
for servers. It is absolutely fitting to use it on your server. In exchange for the extra
effort needed for installation, you get a bleeding edge, yet stable experience.
First, you need to obtain a copy of the Arch installation image and upload it to your
dashboard. Generally speaking, any mirror is fine. To increase the download speed,
you should use a mirror that’s geographically close to your desired server location.
You start by going to the site for your image files and select a HTTP-link for the installation image, for example this one. Download time is generally under one minute, depending on the speed of the mirror.
After that, you can deploy your new server. Instead of choosing one of the listed operating system choices, you would choose the image you just uploaded from the drop-down menu named ISO.
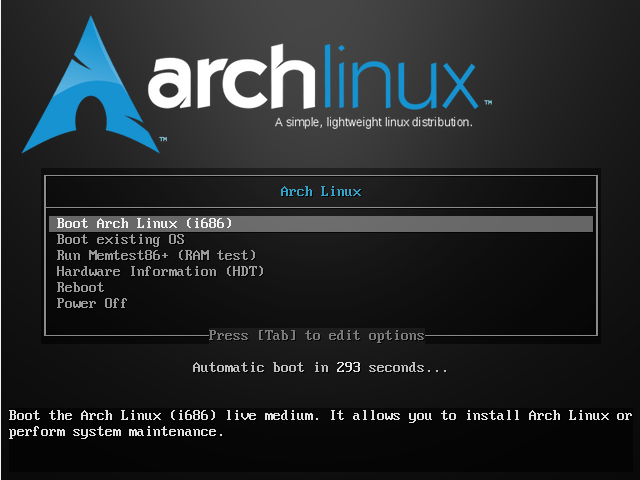
After the deployment is complete, switch to the “Manage“-panel of your server and open up the VNC-console by clicking on View console. You are now in the live-shell of Arch.
Since there will be a lot of packages to be downloaded, the first thing you need to do is to set up the network connection. You can find the IPv4-information on your server’s dashboard. In order to find out how the network interface is called you run the ip-command:
ip link
The output should look similar to this:
1: lo: <LOOPBACK,UP,LOWER_UP> mtu 65536 qdisc noqueue state UNKNOWN mode DEFAULT
    link/loopback 00:00:00:00:00:00 brd 00:00:00:00:00:00
2: eth0: <BROADCAST,MULTICAST> mtu 1500 qdisc noop state DOWN mode DEFAULT qlen 1000
    link/ether 00:11:25:31:69:20 brd ff:ff:ff:ff:ff:ff
The first one is your loopback interface, which can be safely ignored for now. The second one is your ‘real’ interface which needs to be configured. Configuration is also performed with the IP-command. The syntax is as follows:
ip addr add yourip/yoursubnetmask dev yourinterfacename
For example (Do not use these IP addresses – use the ones you found in your dashboard instead):
ip addr add 10.0.0.1/24 dev eth0
Next, bring the interface up:
ip link set eth0 up
Then you need to set the gateway:
ip route add default via yourgateway
For example (Again, see your dashboard for the proper address):
ip route add default via 10.0.0.1
Now you should be able to reach the Internet. However, in order to have a fully working connection, you need DNS to work. Edit /etc/resolv.conf with your favorite text editor (nano or vi) and add two nameservers – I am using Google’s public DNS as example:
nameserver 8.8.8.8
nameserver 8.8.4.4
You can test that everything works by using the ping command:
ping -c 3 vultr.com
If that works, then you are connected to the Internet. The next step is the partitioning of the disks, with the cfdisk-utility. You open it by simply calling:
cfdisk /dev/vda
It will first prompt you for a partition type, select dos here. Then you create a “New” partition with a size of 2GB and type Primary. Next, a second partition that fills up the rest of the space and is again of type “Primary“. Make also sure that the Bootable-flag is set on the second partition. Finish the program by Writing everything and hitting ‘q‘ afterwards.
The partitions are now there, but they are lacking a filesystem. Since the first partition will be swap, you need to run:
mkswap /dev/vda1
swapon /dev/vda1
The main filesystem will reside on the second partition:
mkfs.ext4 /dev/vda2
mount /dev/vda2 /mnt
Now the real installation can start with the most basic packages:
pacstrap /mnt base base-devel
When that task has finished, you have a basic Arch-installation ready. Your installation still needs to be customized in a chroot. Before doing that, generate /etc/fstab for the installation:
genfstab -p /mnt > /mnt/etc/fstab
Now you can chroot:
arch-chroot /mnt bash
In the chroot environment, you configure your language settings by opening /etc/locale.gen with your favorite text editor and uncommenting your language of choice, for example:
en_US.UTF-8 UTF-8
Then, execute:
locale-gen
And add the language to /etc/locale.conf:
echo "LANG=en_US.UTF-8" > /etc/locale.conf
Next is properly setting the timezone (Replace the zoneinfo with the zone of your server’s location):
ln -s /usr/share/zoneinfo/Europe/Amsterdam /etc/localtime
Configure your hostname (Choose a hostname accordingly):
echo "vultrserver02" > /etc/hostname
Configure initramfs:
mkinitcpio -p linux
Install and configure grub:
pacman -S grub
grub-install /dev/vda
grub-mkconfig -o /boot/grub/grub.cfg
Set a password for the root user account:
passwd
Configure the static IP address for your server by editing /etc/netctl/eth0 with your favorite text editor:
Description='eth0'
Interface=eth0
Connection=ethernet
IP=static
Address='youraddress/yoursubnetmask'
Gateway='yourgateway'
DNS = 'nameserverofchoice'
and enabling the service at boot-time:
netctl enable eth0
Since administrating your server from the virtual console isn’t exactly fun, you are going to install OpenSSH and activate it at boot-time:
pacman -S openssh
systemctl enable sshd.service
Afterwards, you are finished. Leave the chroot by issuing the:
exit
command, and reboot your server. Don’t forget to remove the image or else you will be stuck in a boot-loop.
Your Arch Linux server is now online!
Want to contribute?
You could earn up to $300 by adding new articles
Suggest an update
Request an article