Introduction
Nginx Server Blocks enable web administrators to run multiple websites on one VPS or dedicated server.
The server blocks allow you to encapsulate web configuration details, making it easy to utilize different SSL certificates, create a unique security policy, and stipulate the document root for each website.
This tutorial will help you configure the Nginx Server Blocks on your Debian 9 server.
Before you Start
For this tutorial to flow seamlessly, you require the following:
- Nginx installed on your Debian 9 server at a service that supports Linux hosting
- A domain pointing to the Debian server. We’ll utilize example.com as the domain name in our tutorial; remember to replace this name with your unique domain name.
If everything is in place, let’s get started!
Step 1 – Creating A Document Structure
The first thing when setting up Nginx server blocks is creating a directory structure (document root). The document root is a location where your domain’s web files are store and presented upon any request. Feel free to structure your document root (main directory) to be on any location on your system.
In our tutorial we’ll have the structure below for the root directory:
/var/www/
├── domain1.com
│   └── public_html
├── domain2.com
│   └── public_html
├── domain3.com
│   └── public_html
If you are hosting multiple domains, you should come up with a distinct directory structure for each of the domain. Here, we will create a root directory for the domain name and host it on the directory, /var/www. That is, We will create a directory called public_html, within the main directory, /var/www. The public_html is a directory used to store the website files for each of the domain.
Log in to your Debian 9 server and issue the command below:
$ sudo mkdir -p /var/www/example.com/public_html
The command above will create a directory, public_html for the domain example.com in the main directory, /var/www.
Next, run the command below to create a file called index.html that is hosted in the directory public_html.
$ sudo nano /var/www/example.com/public_html/index.html
Copy and add the lines below into this file:
<!DOCTYPE html>
<html lang="en" dir="ltr">
  <head>
    <meta charset="utf-8">
    <title>Welcome to example.com</title>
  </head>
  <body>
    <h1>Success! example.com home page!</h1>
  </body>
</html>
Save the changes and exit the text editor.
Now, issue the command below to transfer your document root’s ownership to a www-data (Nginx User). This prevents the occurrence of permission issues:
$ sudo chown -R www-data: /var/www/example.com
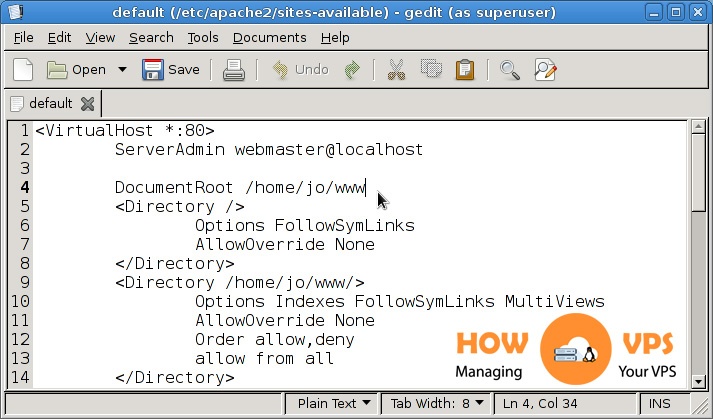
Step 2 – Creating A Nginx Server Block
Debian 9 system stores the configuration files for Nginx server blocks in the directory, /etc/nginx/sites-available. These configuration files are enabled to another directory /etc/nginx/sites-enabled/, via symbolic links.
To create a file for the Nginx Server Block, issue the command below
$ sudo nano /etc/nginx/sites-available/example.com.conf
Copy and add the content below into the file:
server {
    listen80;
    listen [::]:80;

    root /var/www/example.com/public_html;

    index index.html;

    server_name example.com www.example.com;

     access_log /var/log/nginx/example.com.access.log;
     error_log /var/log/nginx/example.com.error.log;

    location / {
        try_files$uri$uri/ =404;
    }
}
Save the changes and exit the text editor.
Note: we’ve used example.com.conf as the name for our configuration file. You can give this file a different name, but it’s advisable you use your domain as the name for the file.
By now, the configuration file is ready but it’s enabled. To enable this file, execute the command below:
$ sudo ln -s /etc/nginx/sites-available/example.com.conf /etc/nginx/sites-enabled/
Next, run the command below to confirm if the format for this configuration file is correct:
$ sudo nginx -t
If everything was implemented successfully, you will get an output similar to the one below:
nginx: the configuration file /etc/nginx/nginx.confsyntax is ok
nginx: configuration file /etc/nginx/nginx.conftest is successful
Now, issue the command below to restart Nginx and implement the changes made:
$ sudo systemctl restart nginx
To check if the new server block is functioning properly, open your website using your favorite browser. If the server block is running correctly, you will get this message:

Conclusion
That is it! You have successfully created and configured a Nginx Server Block on your Debian 9 server. Follow the steps above to set up a server block for each of the other domains.
Check out these top 3 Best web hosting services
0